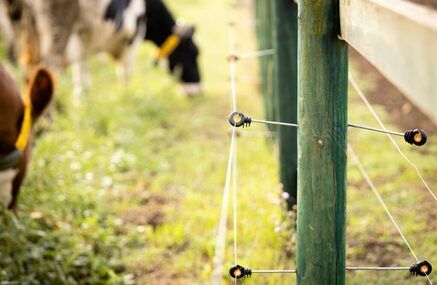
Electric fencing is one of the most effective ways to manage livestock, protect grazing areas and create secure boundaries. Whether you're installing fencing for sheep, cattle, horses or other livestock, a correctly installed electric fence provides a safe, reliable and cost-effective solution.
However, even the best electric fencing equipment will only perform as intended if it's installed correctly. From choosing the right components to creating an effective earth system, every part of the installation plays an important role in delivering a consistent electric pulse and keeping livestock securely contained.
In this guide, we'll explain how to install an electric fence safely and effectively, along with practical tips to help you maximise performance and avoid common installation mistakes.
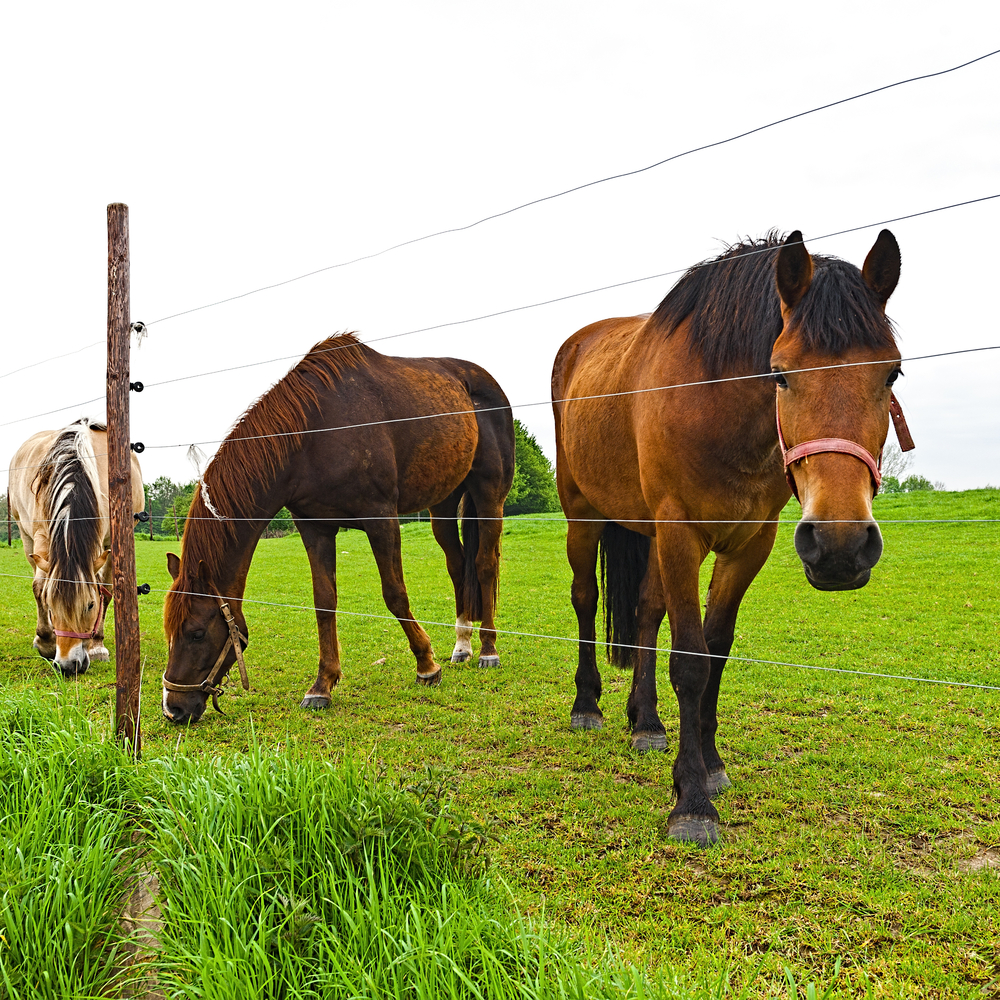
Before installing your electric fence, take time to plan the layout of your fencing system. Consider the type of livestock you're containing, the size of the area you need to fence and the terrain you'll be working on. Planning ahead will make installation easier, reduce unnecessary adjustments and help your fencing perform reliably from day one.
Think about where gates, corners and access points will be positioned, as well as any slopes, uneven ground or obstacles that could affect the fence line. If you're creating temporary paddocks for rotational grazing, choose a layout that allows the fence to be moved easily as grazing requirements change.
Choosing the right components is just as important as installing your fence correctly. Every part of an electric fencing system works together to create a safe and effective boundary, so selecting equipment that's suited to your livestock and the area you're fencing will improve reliability and reduce ongoing maintenance.
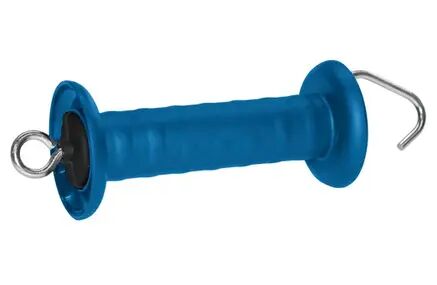
A typical electric fencing system includes:
Using compatible, high-quality fencing equipment will help ensure your electric fence operates efficiently for years to come.
A reliable earth system is one of the most important parts of any electric fence installation. In fact, poor grounding is responsible for many electric fencing problems, often resulting in weak or ineffective shocks.
Install earth stakes firmly into damp ground wherever possible and ensure all clamps and connections are clean and secure. Larger fencing systems or particularly dry ground conditions may require additional earth stakes to maintain consistent performance.
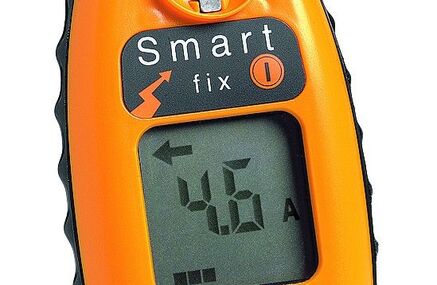
Once your fence is installed, use a digital fence tester or voltmeter to confirm the system is operating correctly. Most livestock fencing systems perform best at around 5,000 volts or above, although the ideal voltage will depend on the type of livestock you're containing.
A well-installed fence is easier to maintain and far more effective at containing livestock. Begin by installing corner posts before positioning intermediate posts at appropriate intervals. Attach insulators securely before running your fence wire, rope or tape, taking care not to over-tension the conductors.
Keep the fence line clear of objects that could reduce performance, ensuring the electrified wire or tape only comes into contact with suitable plastic insulators.
As you install the fence:
Taking the time to install your fence properly will improve both its performance and longevity.
The energiser is the heart of your electric fencing system. Choosing a unit that's appropriately sized for the length of your fence will ensure a strong, consistent electric pulse across the entire installation.
Mains energisers are ideal for permanent fencing where a reliable power supply is available, while battery and solar-powered energisers offer greater flexibility for temporary fencing and remote grazing areas.
If you expect your fencing system to expand in the future, selecting an energiser with additional capacity can help avoid the need for costly upgrades later.
When introducing livestock to electric fencing for the first time, proper training is essential. Animals quickly learn to recognise and avoid an electric fence when it delivers a consistent pulse and is clearly visible.
For horses, using electric fence tape improves visibility, while sheep, calves and other livestock benefit from being introduced to a smaller training area before moving into larger paddocks. Monitoring animals during their first few days with the fence will help ensure they adapt safely and confidently.
Electric fencing is safe when installed and maintained correctly, but a few simple precautions should always be followed.
Before carrying out repairs or maintenance, switch off the energiser and disconnect the power supply. Where electric fencing borders public footpaths or highways, install clearly visible warning signs to alert members of the public.
You should also:
Following these precautions will help protect both people and livestock while ensuring your fence continues to operate safely.
Many electric fence problems can be prevented with careful installation and routine inspections.
Common mistakes include:
Regular inspections will help identify these issues before they affect fence performance.
Routine maintenance is essential for keeping your electric fence operating at its best throughout the year.
Walk your fence line regularly to check for damaged wire, loose posts, worn insulators and signs of corrosion. Grass, weeds and other vegetation touching the fence can drain power from the system, reducing the voltage available to contain livestock, so keeping the fence line clear is equally important.
Using a fence tester to monitor voltage will help you identify faults quickly and ensure your fencing continues to deliver an effective deterrent.
Installing an electric fence correctly is essential for creating a safe, reliable and effective livestock management system. By planning your installation carefully, selecting the right equipment, installing an effective earth system and carrying out regular maintenance, you'll maximise fence performance while reducing the need for repairs.
Whether you're installing permanent fencing or temporary paddocks for rotational grazing, investing time in proper installation will help keep your livestock secure for years to come. If you're unsure which electric fencing products are best suited to your requirements, the team at Tanner Trading is always happy to help.
Browse our full range of electric fencing essentials to ensure an efficient and safe management system.